
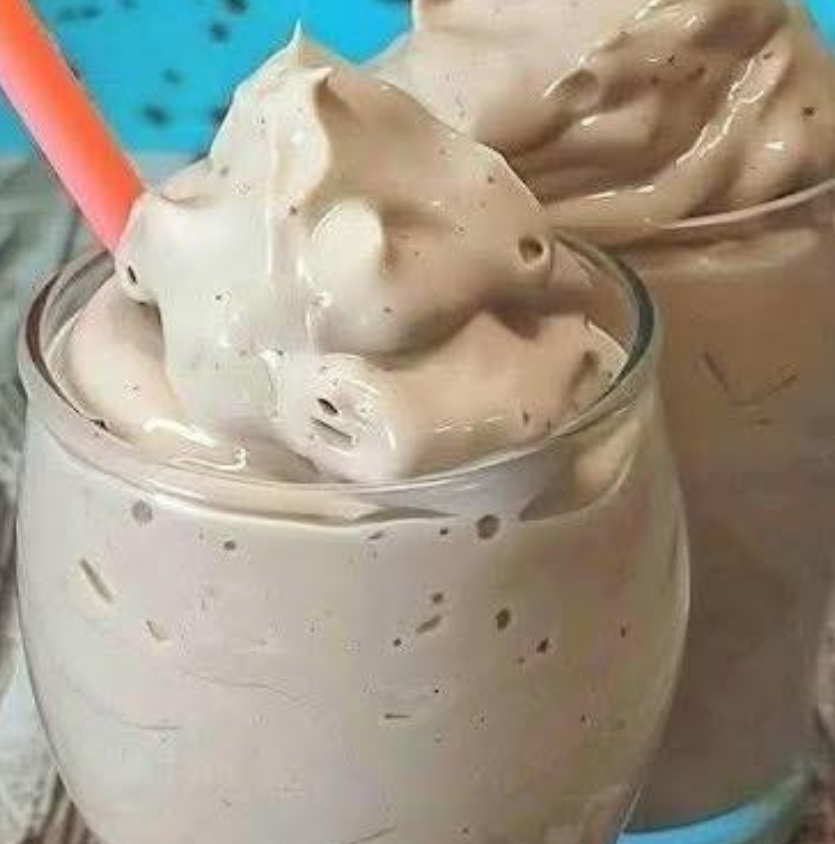
There is a specific kind of nostalgia tied to a thick, malty chocolate frosty. It’s that perfect middle ground between a milkshake and soft-serve ice cream—dense enough to require a spoon, yet smooth enough to melt the moment it hits your tongue. However, the traditional version is often a sugar bomb that leaves you with a temporary high and an inevitable energy crash.
If you’re looking for that classic creamy texture without the refined sugar, this homemade version is a game-changer. It relies on clever pantry swaps to achieve that signature “whipped” consistency and rich cocoa depth.
The Secret to the Texture
The challenge with sugar-free frozen treats is often the “icy” factor. Sugar usually helps prevent large ice crystals from forming. To get around this, we use a combination of full-fat coconut milk (or heavy cream) and unsweetened cocoa powder. The fats provide the velvety mouthfeel, while a touch of vanilla extract rounds out the bitterness of the chocolate.
Ingredients
2 cups Unsweetened Almond Milk (or milk of choice)
½ cup Full-fat Coconut Milk (canned) or Heavy Cream
3 tbsp High-quality Unsweetened Cocoa Powder
¼ cup Granulated Monk Fruit or Erythritol (adjust to your sweetness preference)
1 tsp Pure Vanilla Extract
A pinch of Sea Salt (this intensifies the chocolate flavor)
2 cups Ice cubes
Step-by-Step Instructions
1. The Flavor Base
In a high-speed blender, combine the almond milk, coconut milk, cocoa powder, sweetener, vanilla, and salt. Blend on low for about 30 seconds. You want the cocoa powder to be fully integrated so there are no “chalky” pockets.
2. The Ice Factor
Add the ice cubes to the blender. If you want a thicker, “spoonable” Frosty, start with 2 cups of ice. If you prefer it slightly more drinkable, start with 1 ½ cups.
3. The Whipping Process
Pulse the blender several times to break up the large ice chunks, then switch to a high speed for 45–60 seconds. You are looking for the mixture to aerate and double slightly in volume. This “whipping” action is what creates the light, frosty texture rather than a heavy shake.
4. The Final Consistency Check
Stop the blender and stir with a long spoon. It should be thick enough that it clings to the spoon. If it feels too thin, add another handful of ice and blend for another 20 seconds.
5. Serve and Enjoy
Pour into a chilled glass immediately. For an extra touch of indulgence, top with a few sugar-free chocolate shavings or a dollop of homemade whipped cream.
Pro Tips for the Best Results
Freeze your Milk: For an even creamier result, pour your almond milk into an ice cube tray the night before. Use these “milk cubes” instead of regular ice to prevent the flavor from being diluted.
The Cocoa Quality: Since there is no sugar to hide behind, the quality of your cocoa matters. A Dutch-processed cocoa will give you a darker, smoother, and less acidic taste.
Add a Thickener: If you want it truly “stand-your-spoon-up” thick, add ¼ teaspoon of Xanthan Gum during the first blending step. It’s a keto-friendly way to mimic the stabilizers used in commercial fast-food versions