
Powerful, Personal Hook)
Let’s be honest. “What’s your favorite food?” is a tough question. But for me, the answer is instant and unwavering: salad. Now, before you picture a bowl of leafy greens, let me clarify. I’m talking about egg salad. It’s my ultimate comfort food—creamy, satisfying, and endlessly versatile. When I tell my mom I had egg salad for dinner, she always chuckles and asks, “Are you a vegetarian, girl?” (The answer is yes, but there’s just something about a perfect egg salad I can’t resist!).
For years, I made it the same way: hard-boiled eggs, mayo, mustard, salt, pepper. It was good… but it wasn’t great. That all changed when I discovered a life-altering tip from the incredible chef Carla Hall. She shared one hidden ingredient on Instagram that completely transformed my egg salad game forever. This isn’t just a recipe; it’s the key to unlocking the most flavorful, nuanced, and utterly irresistible egg salad of your life.
The Secret Ingredient That Changes Everything
Drumroll, please… The secret is a generous splash of pickle brine!
Yes, the liquid from your jar of pickles is pure gold. Here’s why this one simple addition is a complete game-changer:
-
Brightness & Acidity: The vinegar in the brine cuts through the richness of the mayonnaise and egg yolks, lifting the entire flavor profile and preventing it from tasting heavy or bland.
-
Savory Depth: It adds a complex, savory note that plain vinegar or lemon juice can’t match, thanks to the dill, garlic, and spices it has absorbed from the pickles.
-
Enhanced Creaminess: The acidity seems to help the mayo and yolks emulsify into an even creamier, smoother texture.
-
Zero Waste Cooking: It’s a brilliant way to use something you’d normally pour down the drain!
This one trick bridges the gap between “homemade” and “chef-worthy.”
*(Prime Ad Placement #1: This section builds curiosity and credibility. It’s perfect for ads for a specific brand of pickles (Claussen, Vlasic), high-quality mayonnaise (Duke’s, Sir Kensington’s), or even Carla Hall’s cookbook.)*
The Ultimate Chef-Approved Egg Salad Recipe
This recipe builds on the classic foundation but uses the pickle brine secret and a few other pro techniques for the best texture and flavor.
Gather Your Ingredients:
-
6 large eggs
-
1/3 cup high-quality mayonnaise
-
1 tablespoon yellow mustard or Dijon mustard
-
1 ½ tablespoons pickle brine (the secret weapon!)
-
2 tablespoons finely minced red onion or shallot
-
1 tablespoon freshly chopped chives or dill
-
1 rib of celery, finely diced (for crucial crunch)
-
Salt and freshly ground black pepper, to taste
-
Optional Garnish: Smoked paprika or extra chives
The Foolproof Method:
Step 1: Cook the Perfect Hard-Boiled Eggs
-
Place the eggs in a single layer in a saucepan and cover with at least an inch of cold water.
-
Bring the water to a rolling boil, then immediately cover the pot and remove it from the heat.
-
Let the eggs sit in the hot water for 10-12 minutes for perfectly set yolks with no gray ring.
-
Transfer the eggs to a bowl of ice water to stop the cooking process. Let them cool completely before peeling.
Step 2: The Pro Technique for the Best Texture
-
After peeling, separate the yolks from the whites.
-
Place the yolks in a medium bowl. Using a fork, mash them until they form a fine crumb.
-
This is key: Mashing the yolks separately first allows them to create a smooth, creamy base with the mayo, eliminating any chalky lumps.
Step 3: Combine & Season Like a Chef
-
Chop the egg whites to your desired consistency (fine for spreads, chunkier for sandwiches) and add them to the yolks.
-
Add the mayonnaise, mustard, and the star of the show—the pickle brine. Stir until the mixture is creamy and well-combined.
-
Gently fold in the minced red onion, celery, and chives. The celery adds a fresh, watery crunch that is a wonderful contrast to the creamy eggs.
-
Season with salt and a generous amount of black pepper. Taste and adjust! You might want more brine for tang or more mayo for creaminess.
*(Prime Ad Placement #2: The assembly stage is a great visual moment. Ads for a beautiful glass mixing bowl set (Pyrex), a high-quality chef’s knife, or a specific brand of eggs (like Vital Farms) would be highly relevant here.)*
Step 4: The Final, Non-Negotiable Step
-
Cover the bowl and refrigerate the egg salad for at least 30 minutes before serving. This allows the flavors to meld magically. The onion and chives will mellow, and every bite will be perfectly harmonious.
Serving Your Masterpiece: Beyond the Bread
This egg salad is so good, it deserves to be the star of the show.
-
The Classic: On soft, whole-wheat bread with crisp lettuce.
-
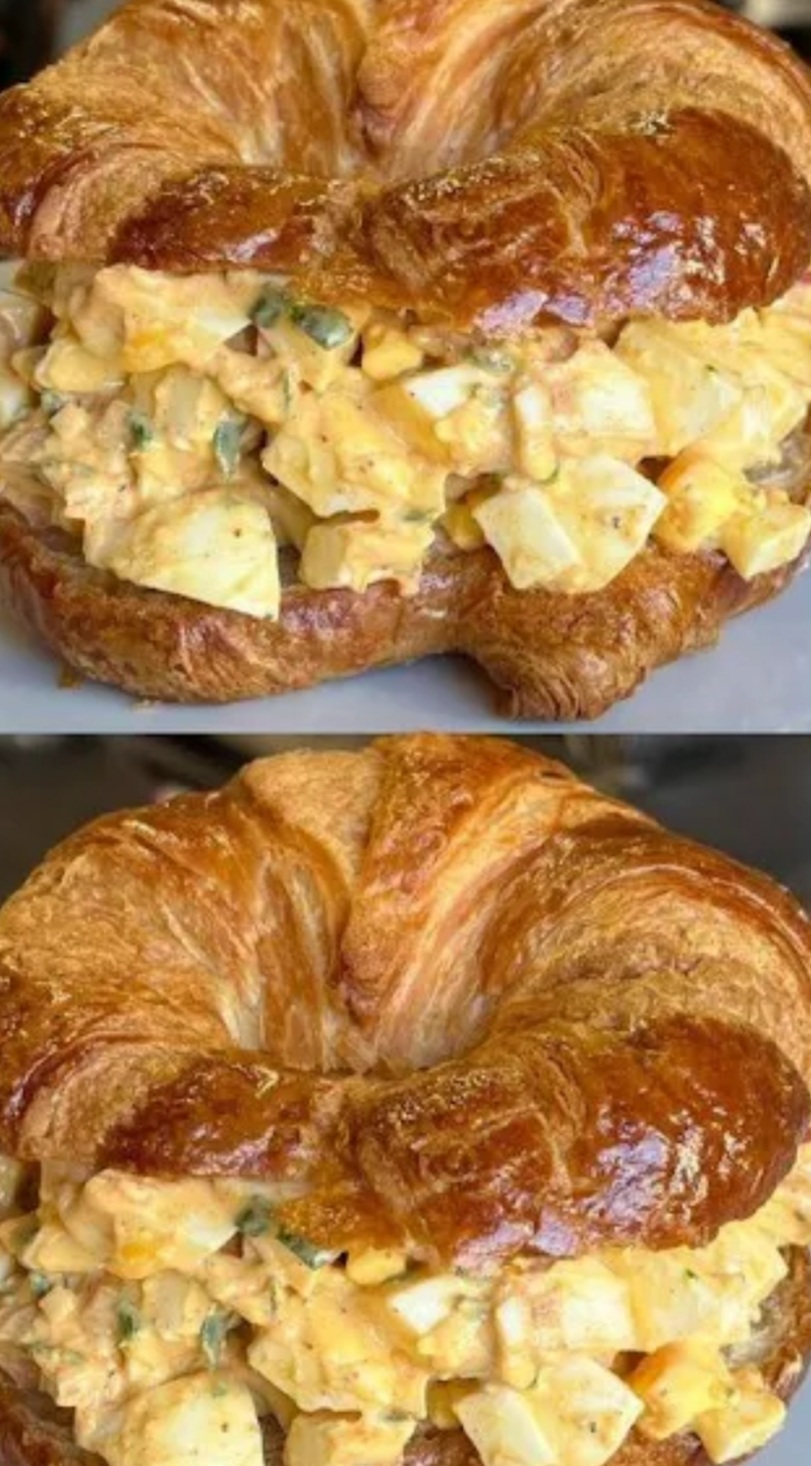
The Gourmet: In a butter croissant or on a thick slice of sourdough.
-
The Low-Carb: Stuffed in an avocado half or served on a bed of butter lettuce cups.
-
The Elegant Canapé: Spooned onto cucumber rounds or mini toasts for a party appetizer.
(Strong, Engaging Conclusion & Call to Action)
So, there you have it. The humble egg salad, elevated by one simple, jar-based secret. It’s a recipe that celebrates simplicity, minimizes waste, and delivers maximum flavor. It’s my forever favorite for a reason.
Now, I have to know—what’s YOUR secret ingredient for a classic recipe? Do you have a family trick for tuna salad, potato salad, or something else? Share your culinary secrets in the comments below; let’s keep the inspiration flowing!