
Close your eyes for a moment. Imagine the most delicate, airy cookie you’ve ever held. It’s so light it feels like you’re holding a cloud, yet it’s packed with the rich, comforting flavor of buttery nuts and vanilla. Now, imagine that cookie simply melting on your tongue, leaving behind a trail of warmth, sweetness, and pure nostalgia.
That, in its essence, is the magic of the Butternut Cookie.
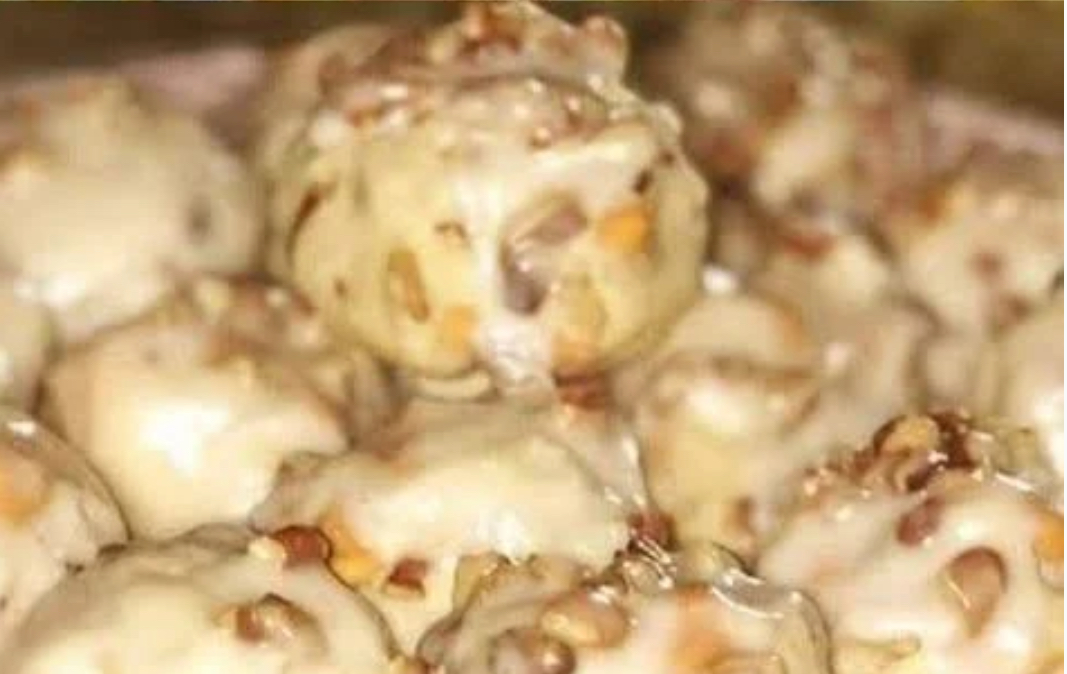
This isn’t just another cookie recipe. This is a forgotten classic, a treasure from Grandma’s recipe box that deserves a grand comeback. If the perfect cookie were to have a taste, it would be this: a delightful symphony of homemade goodness that isn’t overly complex, but is utterly and completely irresistible. With a texture that’s almost weightless and a flavor that hits the perfect spot between sweet and nutty, these cookies are a siren’s call of comfort.
Get ready to fall in love with baking all over again. Let’s recreate this timeless treat.
Why You’ll Be Instantly Obsessed with Butternut Cookies
Before we gather our simple ingredients, let’s talk about what makes these cookies so special and different from the rest.
-
The “Melt-in-Your-Mouth” Phenomenon: The name says it all. The unique method creates a cookie that is tender, crumbly, and literally dissolves on your tongue in the most satisfying way.
-
A Nostalgic Flavor Journey: The combination of brown butter and finely chopped nuts creates a deep, toasty, and complex flavor that tastes like a cherished family memory.
-
Deceptively Simple: Don’t let the sophisticated taste fool you. This is a straightforward, no-fuss dough that comes together with ease, perfect for bakers of all levels.
-
The Ultimate Comfort Food: These cookies are the edible equivalent of a cozy blanket. They’re the perfect companion for a cup of tea, coffee, or a cold glass of milk after a long day.
-
1 cup (2 sticks) unsalted butter, softened (for browning)
-
½ cup granulated sugar
-
½ cup light brown sugar, packed
-
1 large egg yolk (save the white for the topping!)
-
2 teaspoons pure vanilla extract
-
2 ¼ cups all-purpose flour
-
½ teaspoon baking soda
-
½ teaspoon salt
The Signature Butternut Topping:
-
1 egg white, lightly beaten
-
1 cup finely chopped walnuts or pecans (This is the “butternut”!)
-
2 tablespoons granulated sugar for sprinkling
The Foolproof Method: Crafting Your Cookie Clouds
Follow these steps carefully for cookies that are truly worthy of the name.
Step 1: Brown the Butter (The Secret Weapon!)
In a light-colored saucepan, melt the two sticks of butter over medium heat. Continue to cook, swirling the pan occasionally, until the butter foams, then settles, and you see little brown specks at the bottom and it smells wonderfully nutty. This is browned butter, and it’s the key to the cookie’s deep flavor. Immediately pour it into a heatproof bowl to stop the cooking and let it cool slightly until solid but soft.Step 2: Create the Dough
In a medium bowl, whisk together the flour, baking soda, and salt. Set aside.
In a large mixing bowl, combine the cooled browned butter, ½ cup granulated sugar, and brown sugar. Beat with an electric mixer until light and fluffy. Beat in the egg yolk and vanilla extract until just combined.
Gradually add the flour mixture to the wet ingredients, mixing on low speed until a soft, cohesive dough forms. Do not overmix!Step 3: Chill for Perfection
Wrap the dough in plastic wrap and refrigerate for at least 1 hour (or up to 24 hours). This step is crucial as it firms up the butter, preventing the cookies from spreading too much and allowing the flavors to meld.Step 4: Shape and Add the “Butternut”
Preheat your oven to 350°F (175°C). Line baking sheets with parchment paper.
Shape the dough into 1-inch balls. Dip the top of each ball into the lightly beaten egg white, then generously into the bowl of finely chopped nuts, pressing gently to adhere.Step 5: Bake to Golden Bliss
Place the cookies, nut-side up, about 2 inches apart on your prepared baking sheets. Using your thumb or the back of a spoon, make a small indentation in the center of each cookie. Lightly sprinkle the tops with the remaining 2 tablespoons of sugar.
Bake for 10-12 minutes, or until the edges are just set and the bottoms are lightly golden. The centers may still look slightly soft—this is what we want!Step 6: The Patient Wait
Allow the cookies to cool on the baking sheet for 5 minutes before transferring them to a wire rack to cool completely. This allows them to set up and achieve their signature delicate texture.
Pro-Tips for Butternut Cookie Mastery
-
Nut Texture is Key: For the best texture and adherence, chop the nuts until they are very fine, but not quite a powder. A food processor works perfectly for this.
-
Don’t Skip the Brown Butter: This single step elevates the cookies from “good” to “absolutely unforgettable.” It adds a nutty, caramel-like depth that defines the recipe.
-
The Thumbprint Trick: Making that small indentation in the center isn’t just for looks; it helps the cookie bake evenly and creates the perfect base for the nut topping.
-
Storage for Freshness: Keep these delicate cookies in an airtight container at room temperature for up to 5 days. They also freeze beautifully for up to 3 months.
Frequently Asked Questions (FAQs)
Q: Can I use a different type of nut?
A: Absolutely! While walnuts and pecans are classic, butternuts (if you can find them!), almonds, or even hazelnuts would be delicious.Q: Why only the egg yolk in the dough?
A: The yolk adds richness and tenderness without the extra liquid and structure that the white provides. Saving the white for the topping acts as the perfect “glue” for the nuts.Q: My butter is too hot, what do I do?
A: If you’re short on time, you can speed up the cooling process by placing the bowl of browned butter in the refrigerator, stirring every 10 minutes until it reaches a soft, spreadable consistency.Q: Can I make these without browning the butter?
A: You can use simply softened butter, but you will lose the deep, nutty, complex flavor that makes these cookies so special. We highly recommend taking the extra few minutes!
The Final Bite: A Recipe to Cherish
The Butternut Cookie is more than a confection; it’s an experience. It’s a reminder that the simplest pleasures are often the most profound. It’s the cookie you bake when you want to slow down, fill your home with a heavenly aroma, and create a moment of pure, uncomplicated joy.
So, preheat your oven and prepare to bake a batch of these tender, nutty, melt-in-your-mouth wonders. One bite, and you’ll understand exactly why this vintage recipe is a keeper.
-